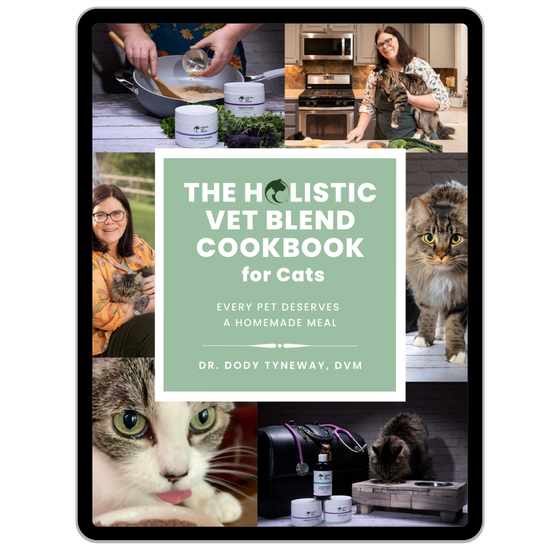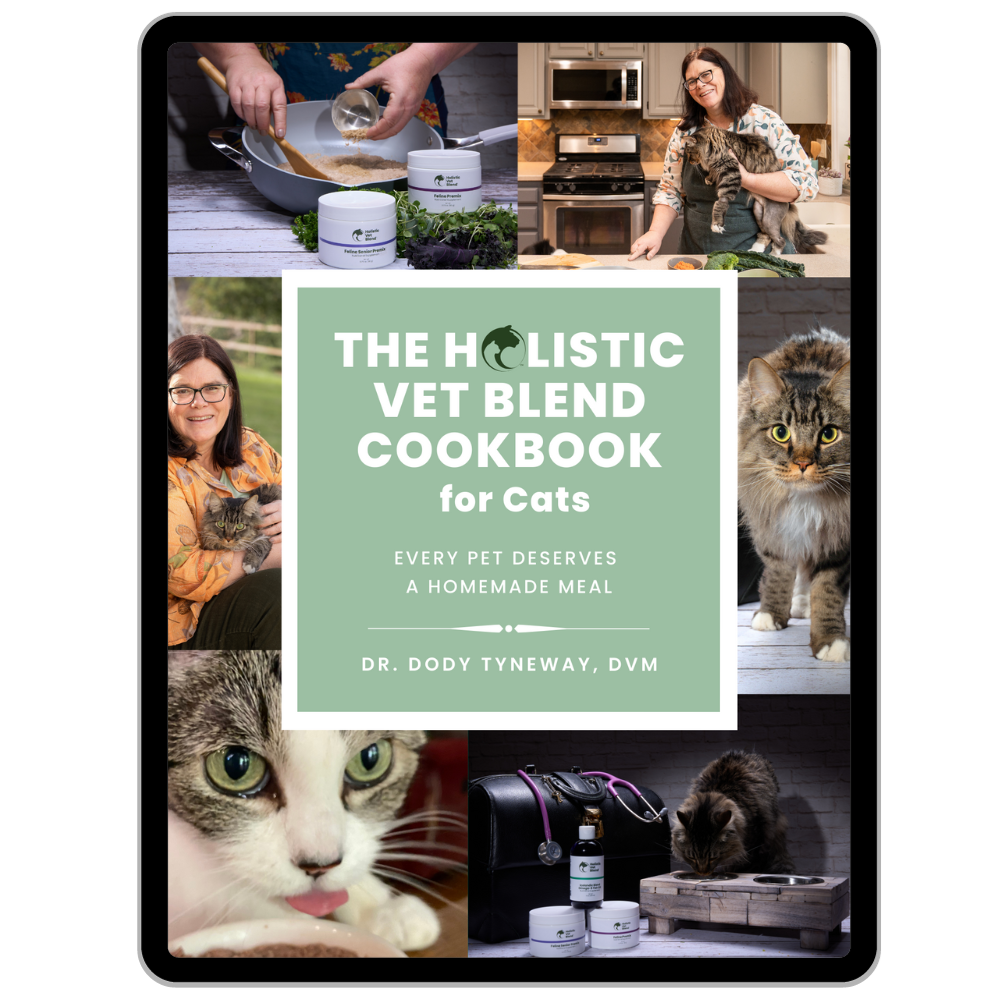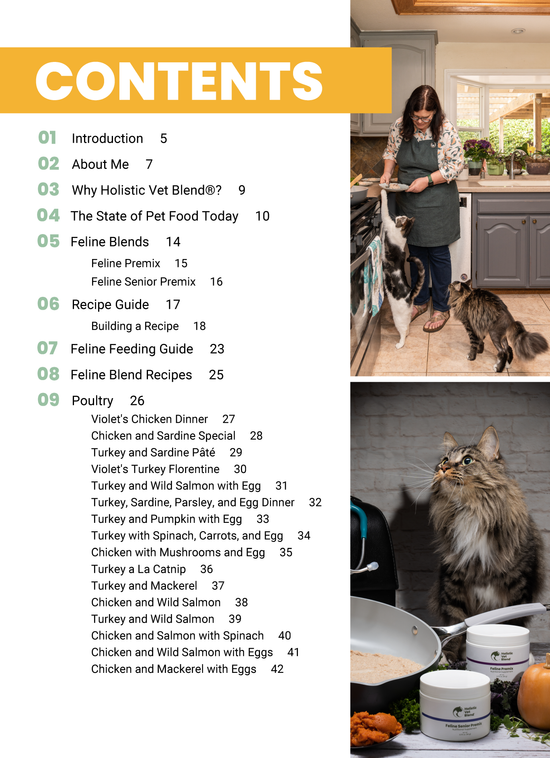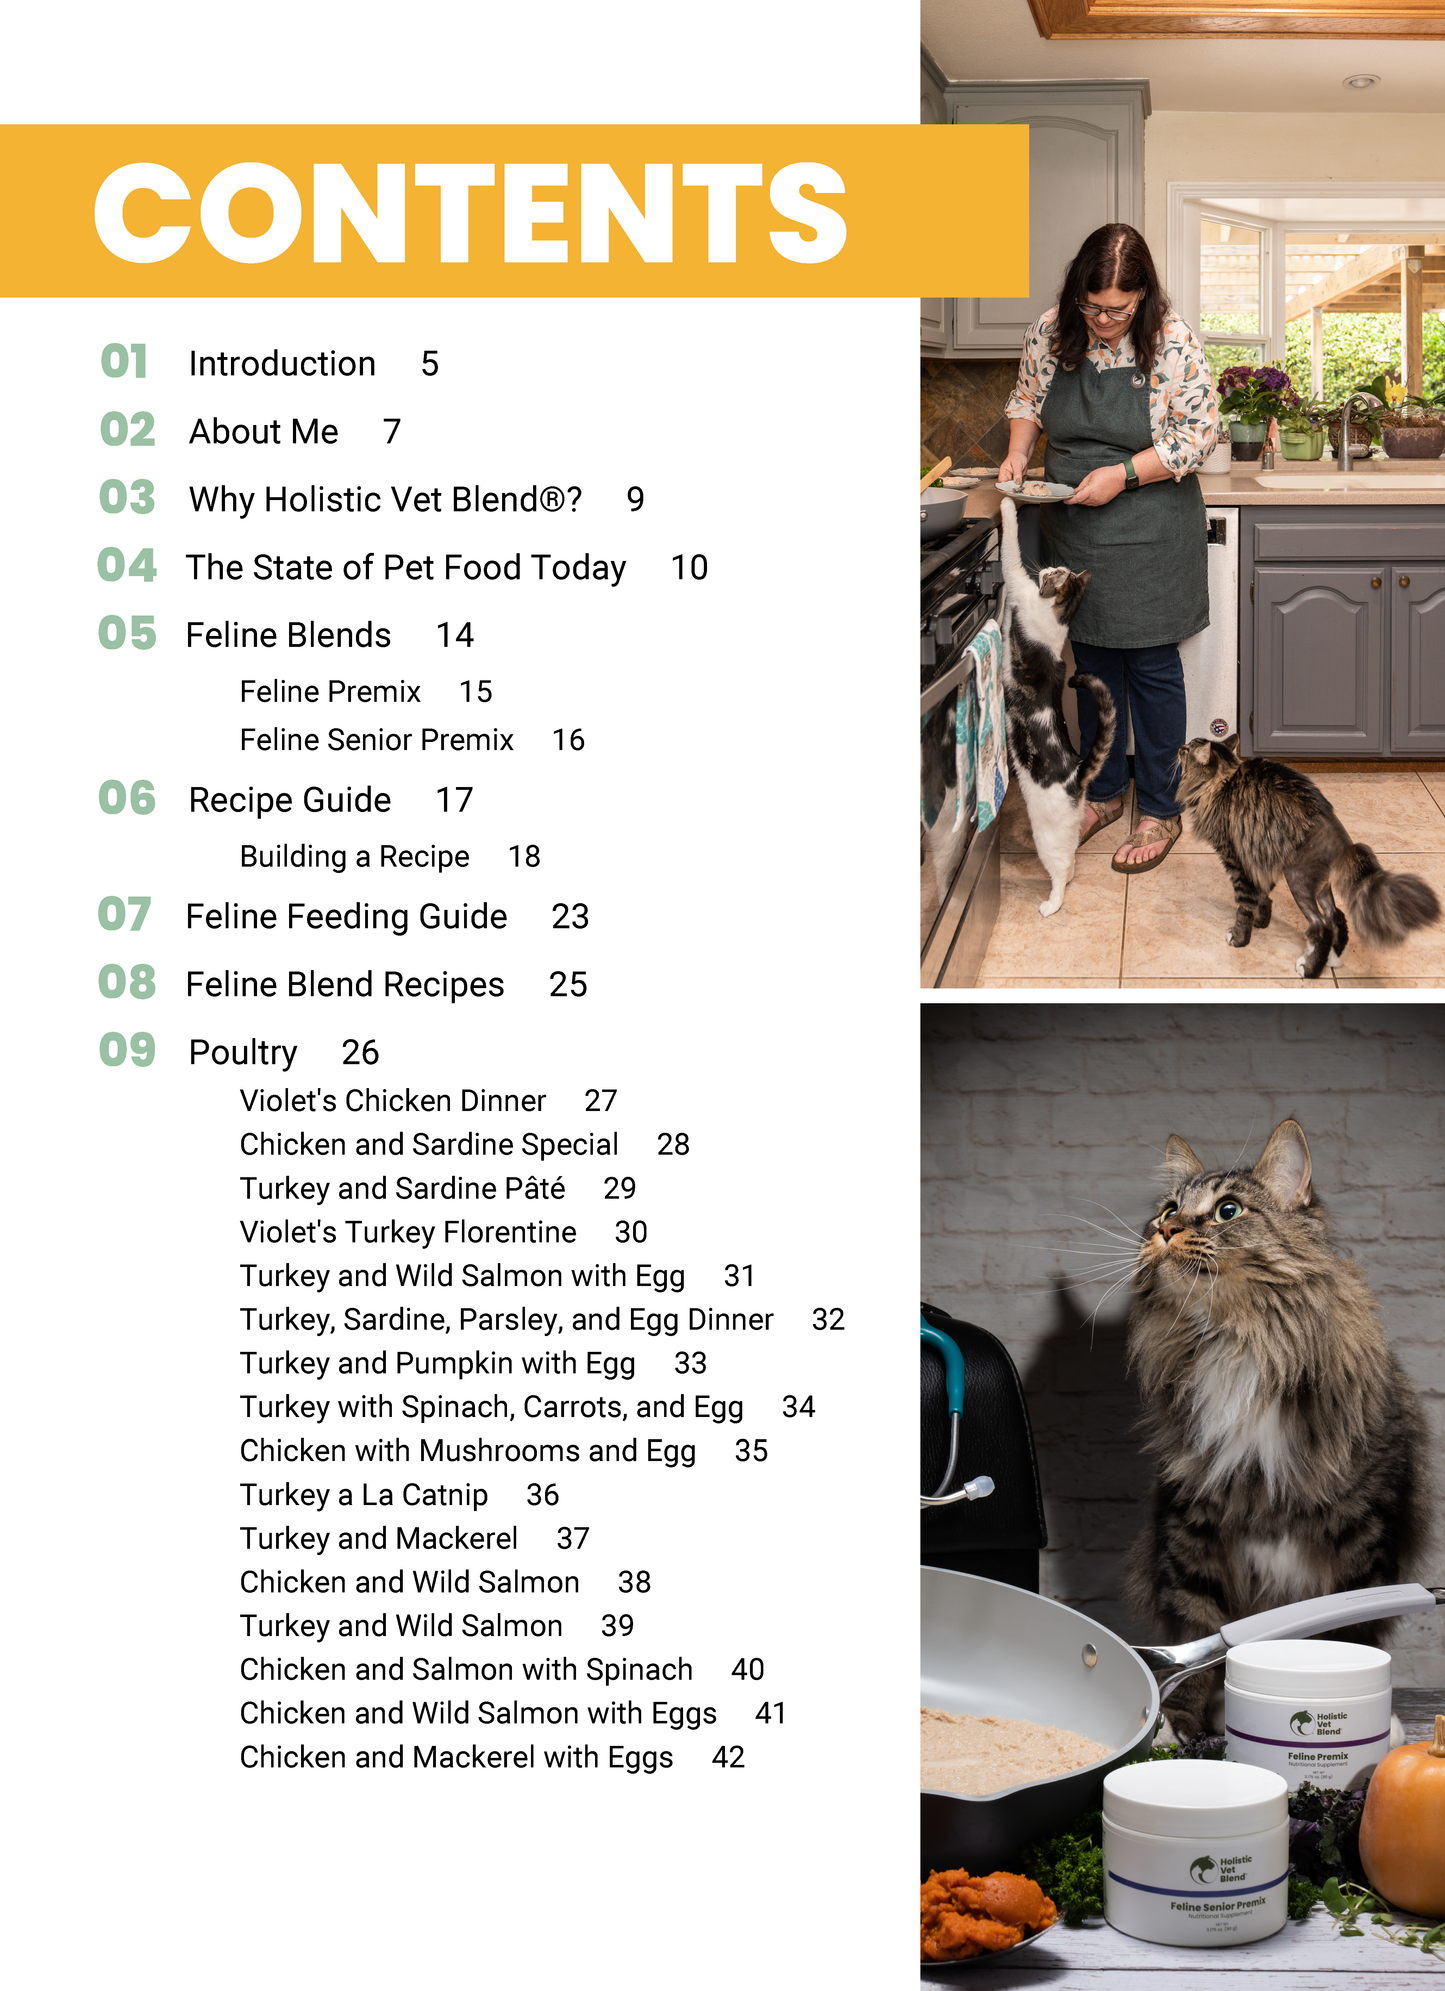



If you’ve been researching homemade cat food recipes and feel overwhelmed by conflicting advice, we’re here to help. While many pet parents tell us they’re afraid homemade diets will be too complicated or time-consuming or even unsafe for their cat, the truth is homemade feeding is very beginner-friendly when you start with simple recipes and the right professional support.
Our team here includes veterinary nutritionists, PhD animal nutritionists, and an integrative veterinarian focusing on natural nutrition. Dr. Dody, a member of that team, has developed many nutritionally-complete and balanced recipes for homemade cat food over the years. In this article, you’ll find three of her easy-to-prepare homemade cat food recipes to get you started (plus a bonus cat treat recipe your kitty will love).

Before we begin, there’s one safety issue we need to address:
The Importance of "Cat-Safe" Bone Broth
All three of these recipes require either water or bone broth. Bone broth is a great option for added flavor and nutrients. However, if you choose bone broth, it must be "cat-safe."
Store-bought broths made for humans often contain onions, garlic, excess sodium, or seasonings which make them unsafe for cats.
There are bone broths intended for animal consumption which are specifically labeled as safe for pets. You can also make cat-safe bone broth at home with leftover turkey bones and a slow cooker. You can find our full guide to making bone broth for your pets here.
Homemade Cat Food Recipe #1: Chicken and Salmon
Chicken and salmon are a popular combination for cats because they provide two tastes cats love along with omega-3 fatty acids that support their health and wellbeing. This recipe also includes spinach for additional nutrients.

Ingredients:
- 1/2 pound of ground chicken
- 1/2 pound of salmon
- 2 Tbsp of coconut oil
- 1 cup of water or cat-safe bone broth
- 1 ounce of spinach
- ½ tsp Holistic Vet Blend® Icelandic Omega-3 Fish Oil
- 2 Tbsp/15 grams Holistic Vet Blend® Feline Premix or Senior Feline Premix
Equipment:
- Pot or saucepan
- Immersion blender or food processor
Directions:
- Cut the salmon into ½-inch cubes.
- Melt coconut oil in a pot or saucepan over low heat.
- Add chicken and salmon to the coconut oil and cook over medium-low heat for 6-8 minutes or until the last traces of pink are gone.
- Mix in the spinach.
- Once the spinach has softened, take the pot off the heat.
- Add the water or cat-safe bone broth (TIP: if you chill or freeze the water or bone broth beforehand, it will cool your cat food down more quickly)
- Once it has cooled, add the HVB premix and fish oil.
- Mix well with an immersion blender or food processor to the desired consistency.
- Refrigerate for up to 4 days or freeze for later use.
Homemade Cat Food Recipe #2: Turkey and Pumpkin
This turkey and pumpkin recipe is simple, affordable, and especially great for beginners. Pumpkin adds moisture and fiber, making this recipe a popular option for cats with sensitive stomachs or the occasional hairball.

Ingredients:
- 1 pound of 85% lean ground turkey
- 2 Tbsp of coconut oil
- 1 cup of water or cat-safe bone broth
- 4 ounces pumpkin
- ½ tsp Holistic Vet Blend® Icelandic Omega-3 Fish Oil
- 2 Tbsp/15 grams Holistic Vet Blend® Feline Premix or Senior Feline Premix
Equipment:
- Pot or saucepan
- Immersion blender or food processor
Directions:
- Melt coconut oil in a pot or saucepan on low heat.
- Add the ground turkey and cook over medium-low heat until fully brown, breaking it into small pieces as it cooks.
- Add the pumpkin as well as the water/bone broth.
- Take the pot off the heat and allow the recipe to cool.
- Add HVB Feline Premix and Icelandic Omega-3 fish oil.
- Use a handheld immersion blender or food processor to blend to the desired consistency.
- Refrigerate for up to 4 days or freeze for later use.
Homemade Cat Food Recipe #3: Chicken and Shiitake Mushroom
If you’re looking for another easy option, this recipe is rich, flavorful, and packed with moisture. Eggs add additional protein and nutrients, while the shiitake mushrooms contribute beneficial antioxidants.

Ingredients:
- 1 pound ground chicken
- 2 Tbsp coconut oil
- 2 eggs
- 2 ounces diced Shiitake mushrooms
- 1 cup water or cat-safe bone broth
- ½ tsp Holistic Vet Blend® Icelandic Omega-3 Fish Oil
- 2 Tbsp/15 grams Holistic Vet Blend® Feline Premix or Senior Feline Premix
Equipment:
- Pot or saucepan
- Immersion blender or food processor
Directions:
- Melt coconut oil in a pot or saucepan over low heat.
- Add chicken and mushrooms and cook over medium-low heat for 4-6 minutes.
- Add eggs and cook another 2-4 minutes until the eggs are cooked and all traces of pink in the chicken are gone.
- Remove from the heat to cool.
- Add bone broth or water (TIP: Chilling or freezing the water or bone broth beforehand will help cool the recipe more rapidly).
- Once cooled, add HVB premix and fish oil and mix well with an immersion blender or food processor to the desired consistency.
- Refrigerate for up to 4 days or freeze for later use.
Bonus Recipe: Easy Homemade Cat Treats
Want to make a homemade snack to go along with your new homemade cat food? These sardine treats are simple to prepare, low-calorie, and freezer-friendly.
Ingredients:
- 2 Tbsp Chia seeds
- 1 cup water or cat-safe bone broth
- 1 tin sardines (3.75 ounces)
- 1 large egg
- 1/2 cup baby oatmeal cereal (I recommend Earth's Best)
Equipment:
- Blender or food processor
- Silicone treat mold (I like this mold - the recipe will fill it completely and make 468 1-calorie treats)
Preparation:
- Soak the chia seeds in 2/3 cup water for 10 minutes.
- Combine the chia water with sardines, oatmeal, and egg in a food processor or blender.
- Fill a silicone pet treat mold with the mixture. (TIP: I find first putting the mixture into a clean squeeze bottle - like for ketchup - makes this step much easier).
- Bake at 350 for 45 minutes.
- Allow to cool.
- Once cool, put the mold in the freezer. Once frozen, the treats will be easier to pop out of the mold.
For freshness, store 4 days' worth of treats in the refrigerator and freeze the rest for use later.
Tips for success with homemade cat food
Here are a few final tips from Dr. Dody to make your cat’s new homemade diet a success:
- Talk with your veterinarian before changing your cat’s diet if they have underlying health conditions
- Don’t change your cat’s food overnight. Transition gradually over 7–10 days
- Making food in larger batches will save you time and money (just make sure to freeze what your cat won’t immediately eat)
- Even if it’s not possible for you to feed your cat a 100% fresh diet, every little bit helps. Consistently replacing 1 meal a day or adding some fresh food as a topper has benefits, too.

Conclusion
Homemade doesn’t have to mean hard. Starting with easy recipes like these will build your confidence and also allow you to learn what your cat enjoys the most. And when you’re making your food with fresh ingredients, vet-approved recipes, and a properly balanced vitamin premix, you’re giving your cat the greatest gift possible - solid support for their long-term health.
FAQ
Why do these recipes say to cook the food? Shouldn’t it be raw?
Dr. Dody prefers gently cooked homemade diets because they combine the benefits of fresh whole foods with the added safety and digestibility of light cooking.
Gentle cooking does not damage the nutrients in the food like high heat commercial cooking can, so you can feel confident your feline friend is still getting complete and balanced meals.
Why does it say to add a premix and fish oil to the homemade cat food recipes?
Cats have unique nutritional requirements, and homemade diets need to be carefully balanced to meet them. For example, feeding plain meat alone can lead to serious nutrient deficiencies.
Adding a vitamin premix to the recipes ensures your homemade food provides your cat all the essential vitamins, minerals, and nutrients that are difficult or impossible to provide through ingredients alone.
Dr. Dody recommends adding fish oil to homemade cat food recipes to give your cat a boost of healthy Omega-3s, which support their immune and nervous systems as well as skin and coat health.
How much of the food do I feed my cat?
Here is what Dr. Dody recommends:
FEEDING GUIDE (according to your cat’s weight in lbs)
2-4 lbs = ¼ - ½ cups per day
4-6 lbs = ½ - ¾ cups per day
6-10 lbs = ¾ cups per day
10-15 lbs = ¾ - 1 cups per day
over 15 lbs = Consult your vet
*Remember that the average indoor cat is pretty sedentary, so the above amounts can be more than they need per day. Monitor their weight and adjust accordingly.
Can I freeze homemade cat food?
Yes. In fact, freezing is one of the easiest ways to save time when making homemade cat food recipes. Dr. Dody recommends preparing larger batches and freezing individual portions for later use.
For best quality, thaw frozen food in the refrigerator and use it within a few days. Never leave homemade cat food at room temperature for extended periods.
How long does homemade cat food last in the refrigerator?
The homemade cat food recipes in this post can be stored in the refrigerator for up to 4 days. Any portion that won't be used within that timeframe should be frozen to maintain freshness and prevent spoilage.
How do I transition my cat to homemade food?
Most cats do best when transitioning to the new food gradually over 7–10 days. Start by mixing a small amount of homemade food into your cat's current food and slowly increase the proportion over time. A gradual transition can help minimize digestive upset and give picky cats time to adjust to the new taste and texture.
This is true whether you are fully transitioning to homemade cat food or supplementing your cat’s current diet with homemade cat food.